Immich
High performance self-hosted photo and video backup solution.


## Demo
You can access the web demo at https://demo.immich.app
For the mobile app, you can use https://demo.immich.app/api for the `Server Endpoint URL`
```
The credential
email: demo@immich.app
password: demo
```
```
Spec: Free-tier Oracle VM - Amsterdam - 2.4Ghz quad-core ARM64 CPU, 24GB RAM
```
## Content
- [Features](#features)
- [Screenshots](#screenshots)
- [Installation](#installation)
- [Update](#update)
- [Mobile App](#mobile-app)
- [App Beta Invitation links](#App-Beta-release-channel)
- [Development](#development)
- [Support](#support)
- [Known Issues](#known-issues)
# Features
> ⚠️ WARNING: **NOT READY FOR PRODUCTION! DO NOT USE TO STORE YOUR ASSETS**. This project is under heavy development, there will be continuous functions, features and api changes.
| Features | Mobile | Web |
| - | - | - |
| Upload and view videos and photos | Yes | Yes
| Auto backup when the app is opened | Yes | N/A
| Selective album(s) for backup | Yes | N/A
| Download photos and videos to local device | Yes | Yes
| Multi-user support | Yes | Yes
| Album | Yes | Yes
| Shared Albums | Yes | Yes
| Quick navigation with draggable scrollbar | Yes | Yes
| Support RAW (HEIC, HEIF, DNG, Apple ProRaw) | Yes | Yes
| Metadata view (EXIF, map) | Yes | Yes
| Search by metadata, objects and image tags | Yes | No
| Administrative functions (user management) | N/A | Yes
| Background backup | Android | N/A
| Virtual scroll | N/A | Yes
# Screenshots
### Mobile
| | | | | |
| - | - | - | - | - |
| 
Login with custom URL
| 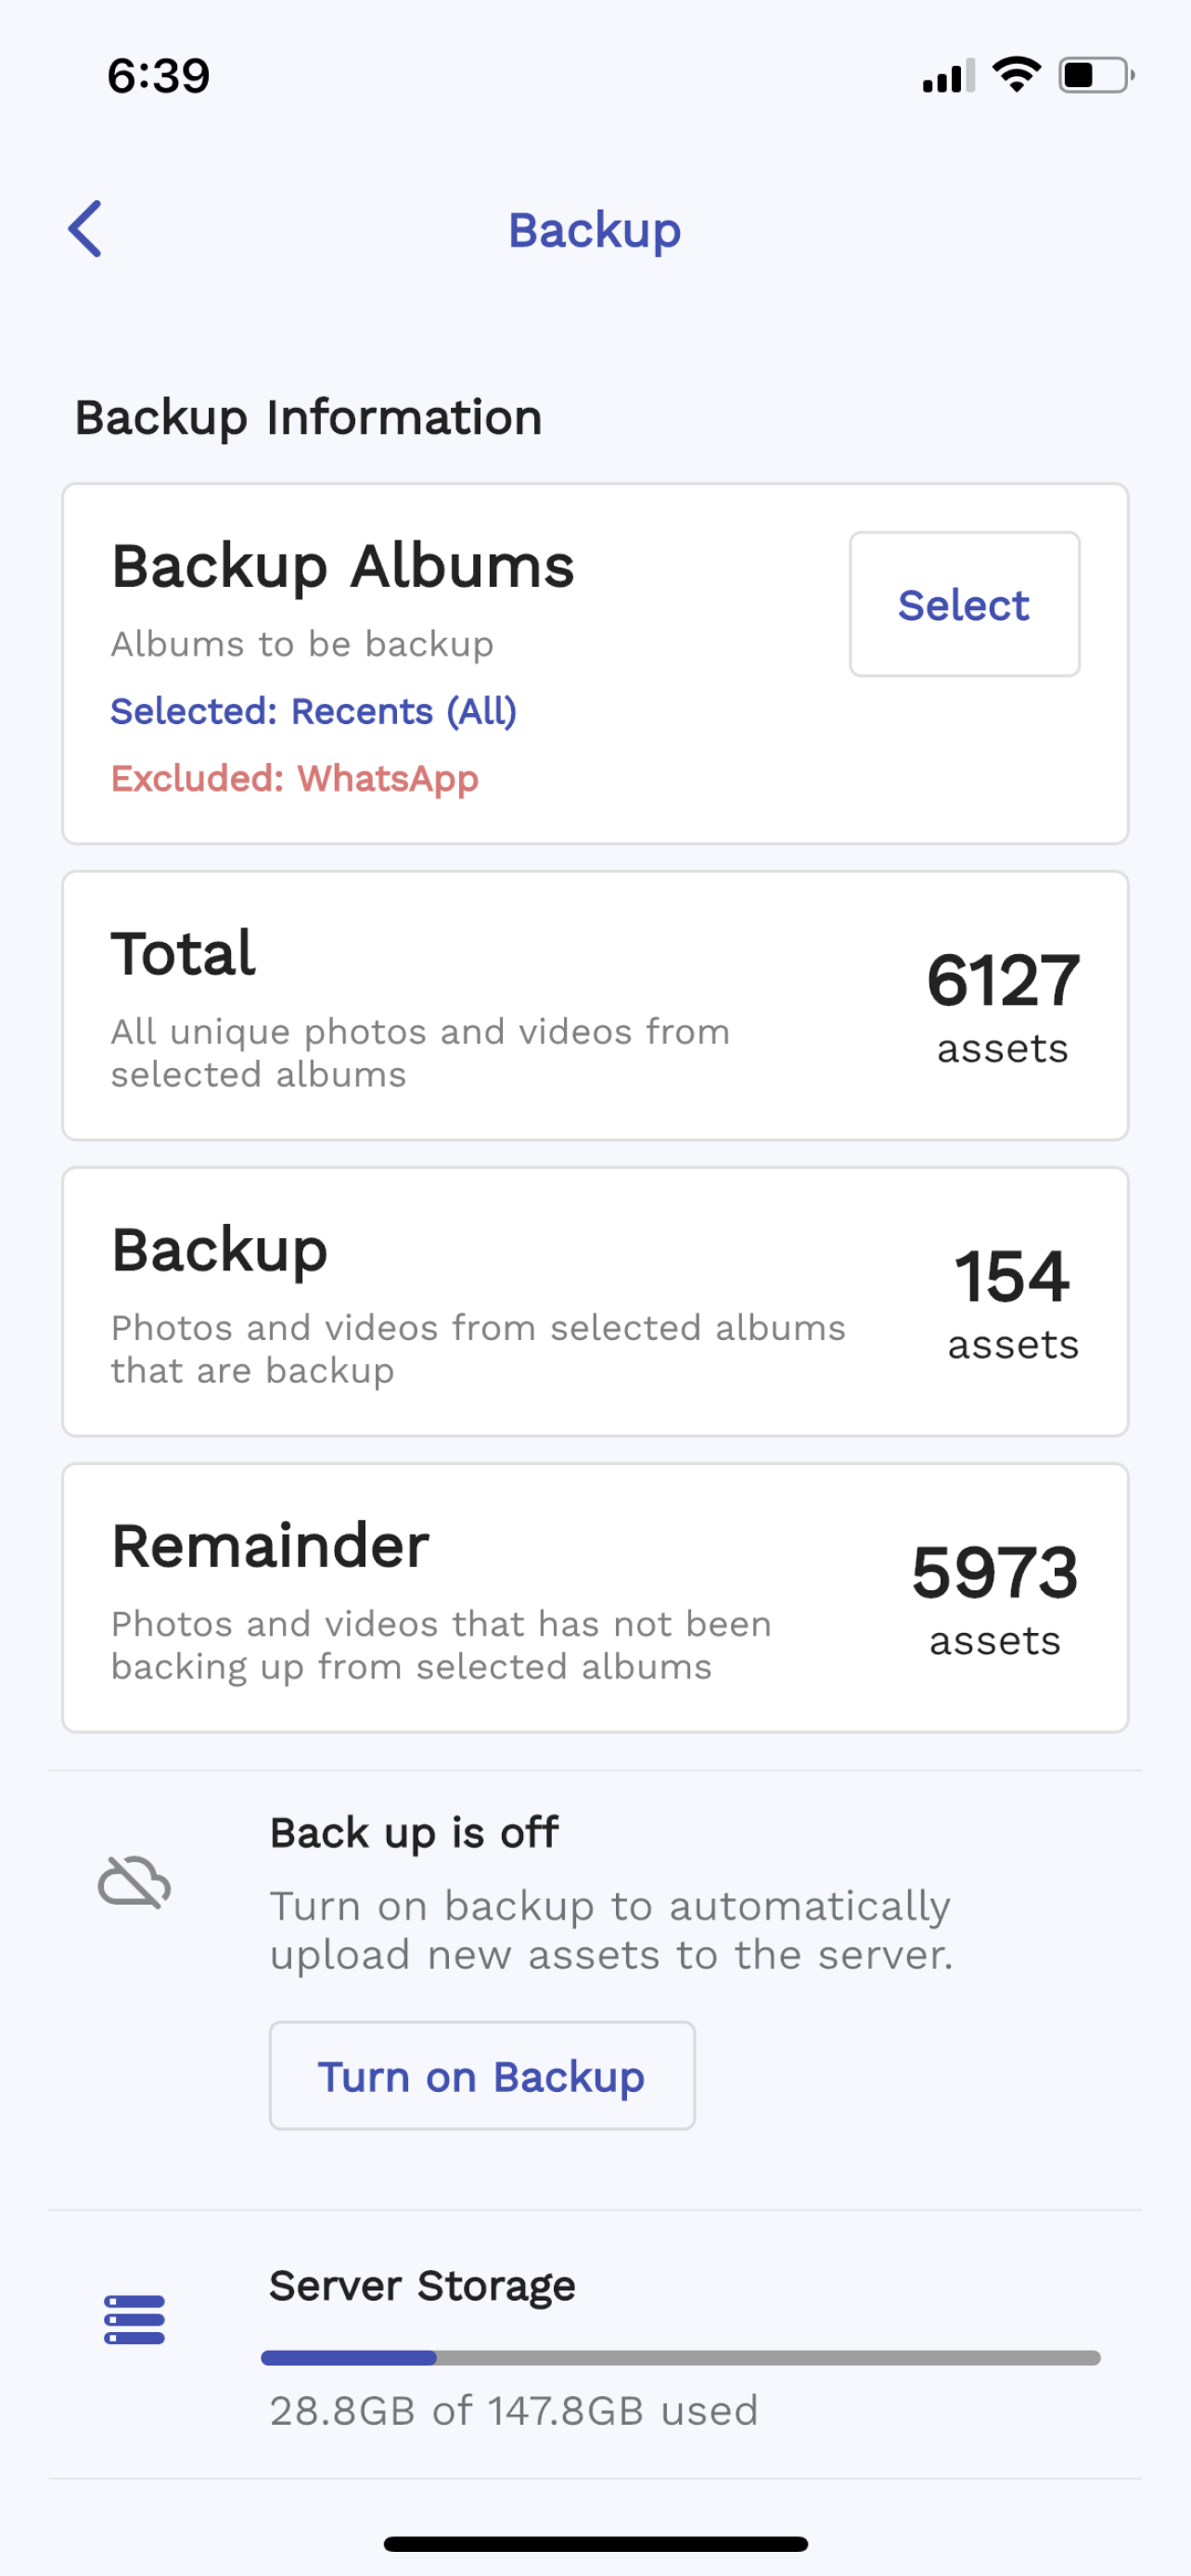
Backup Settings
| 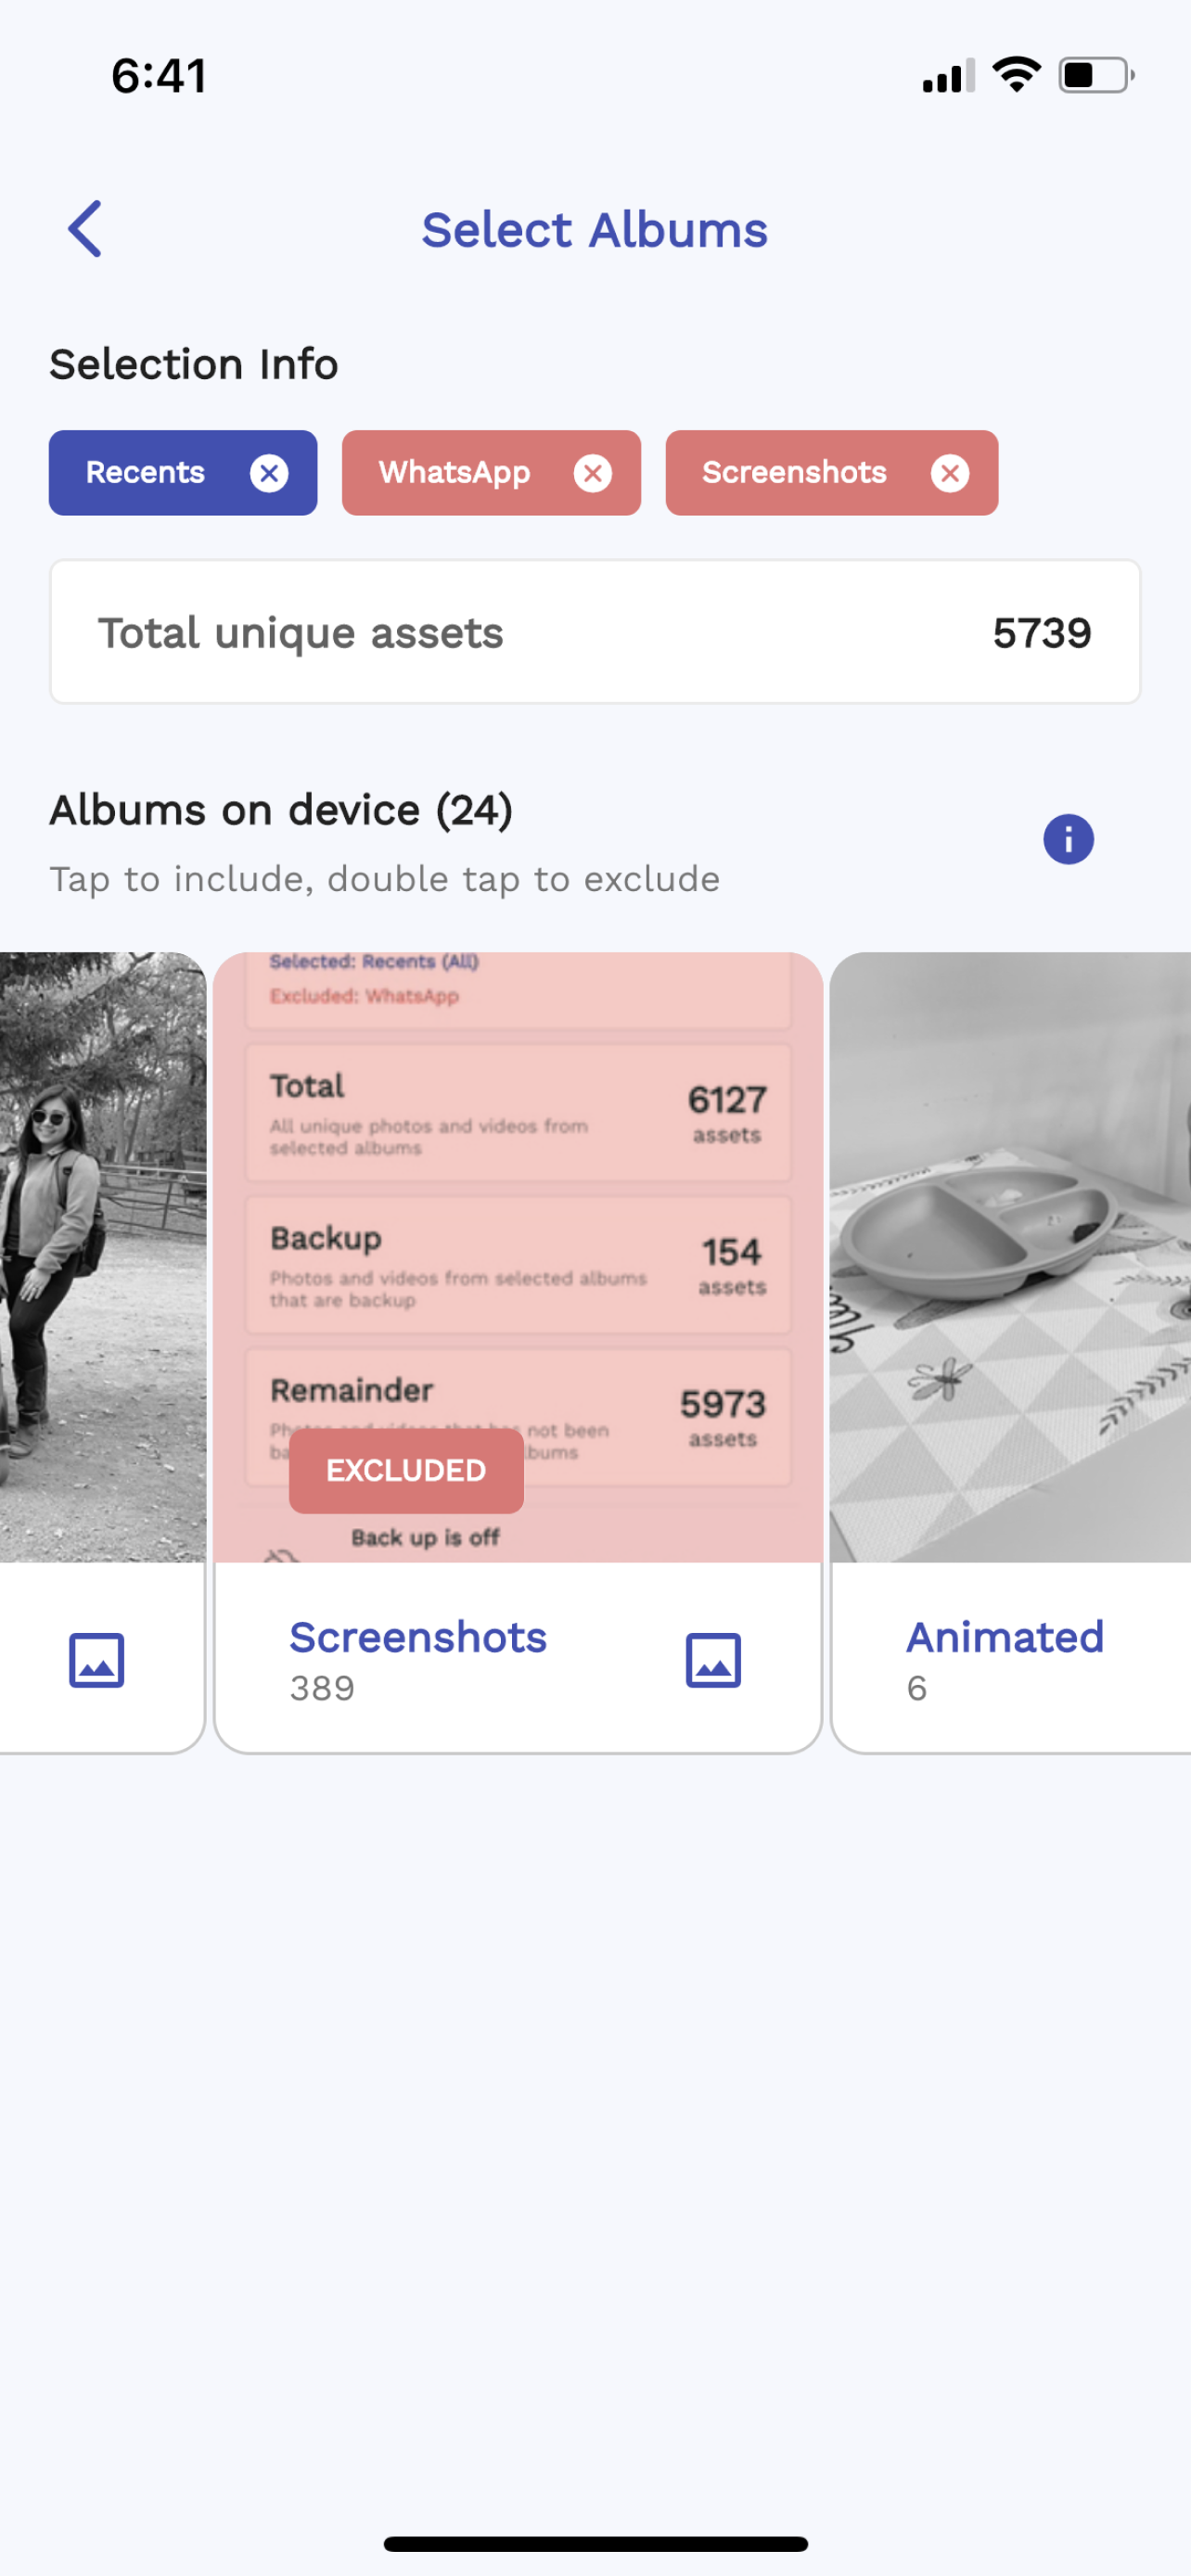
Backup selection
| 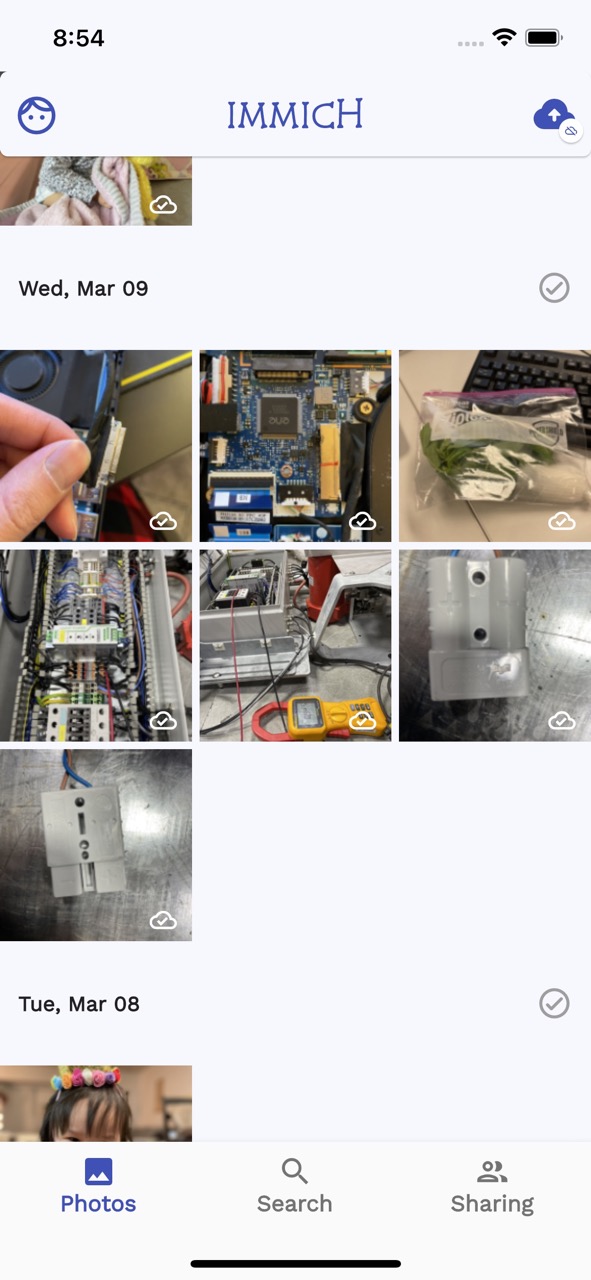
Home Screen
| 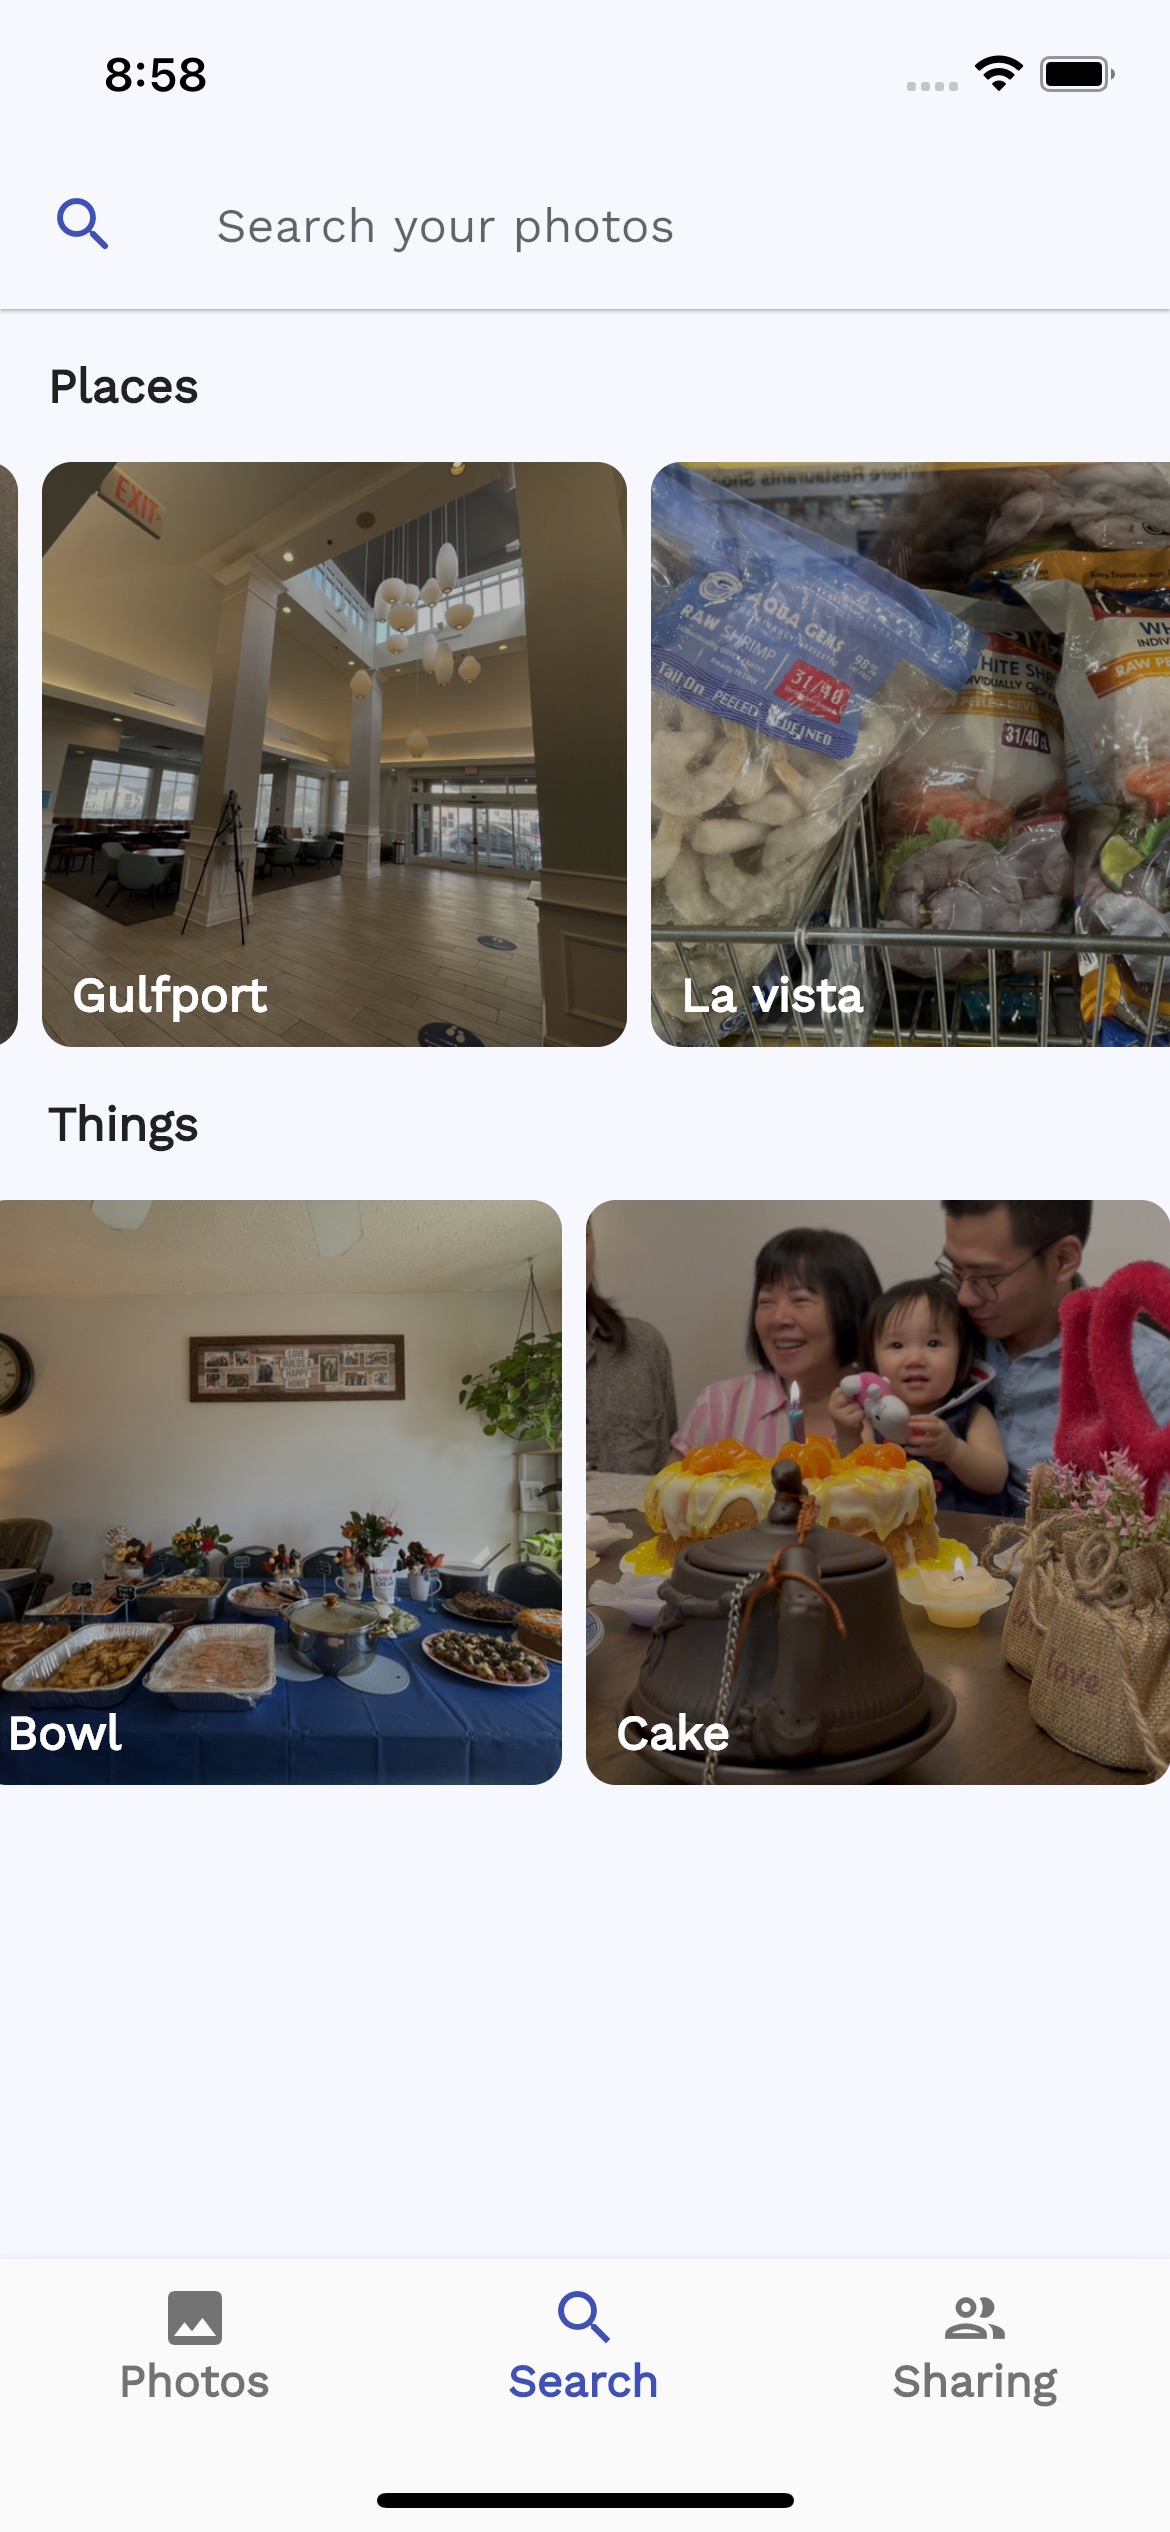
Curated search
|
| 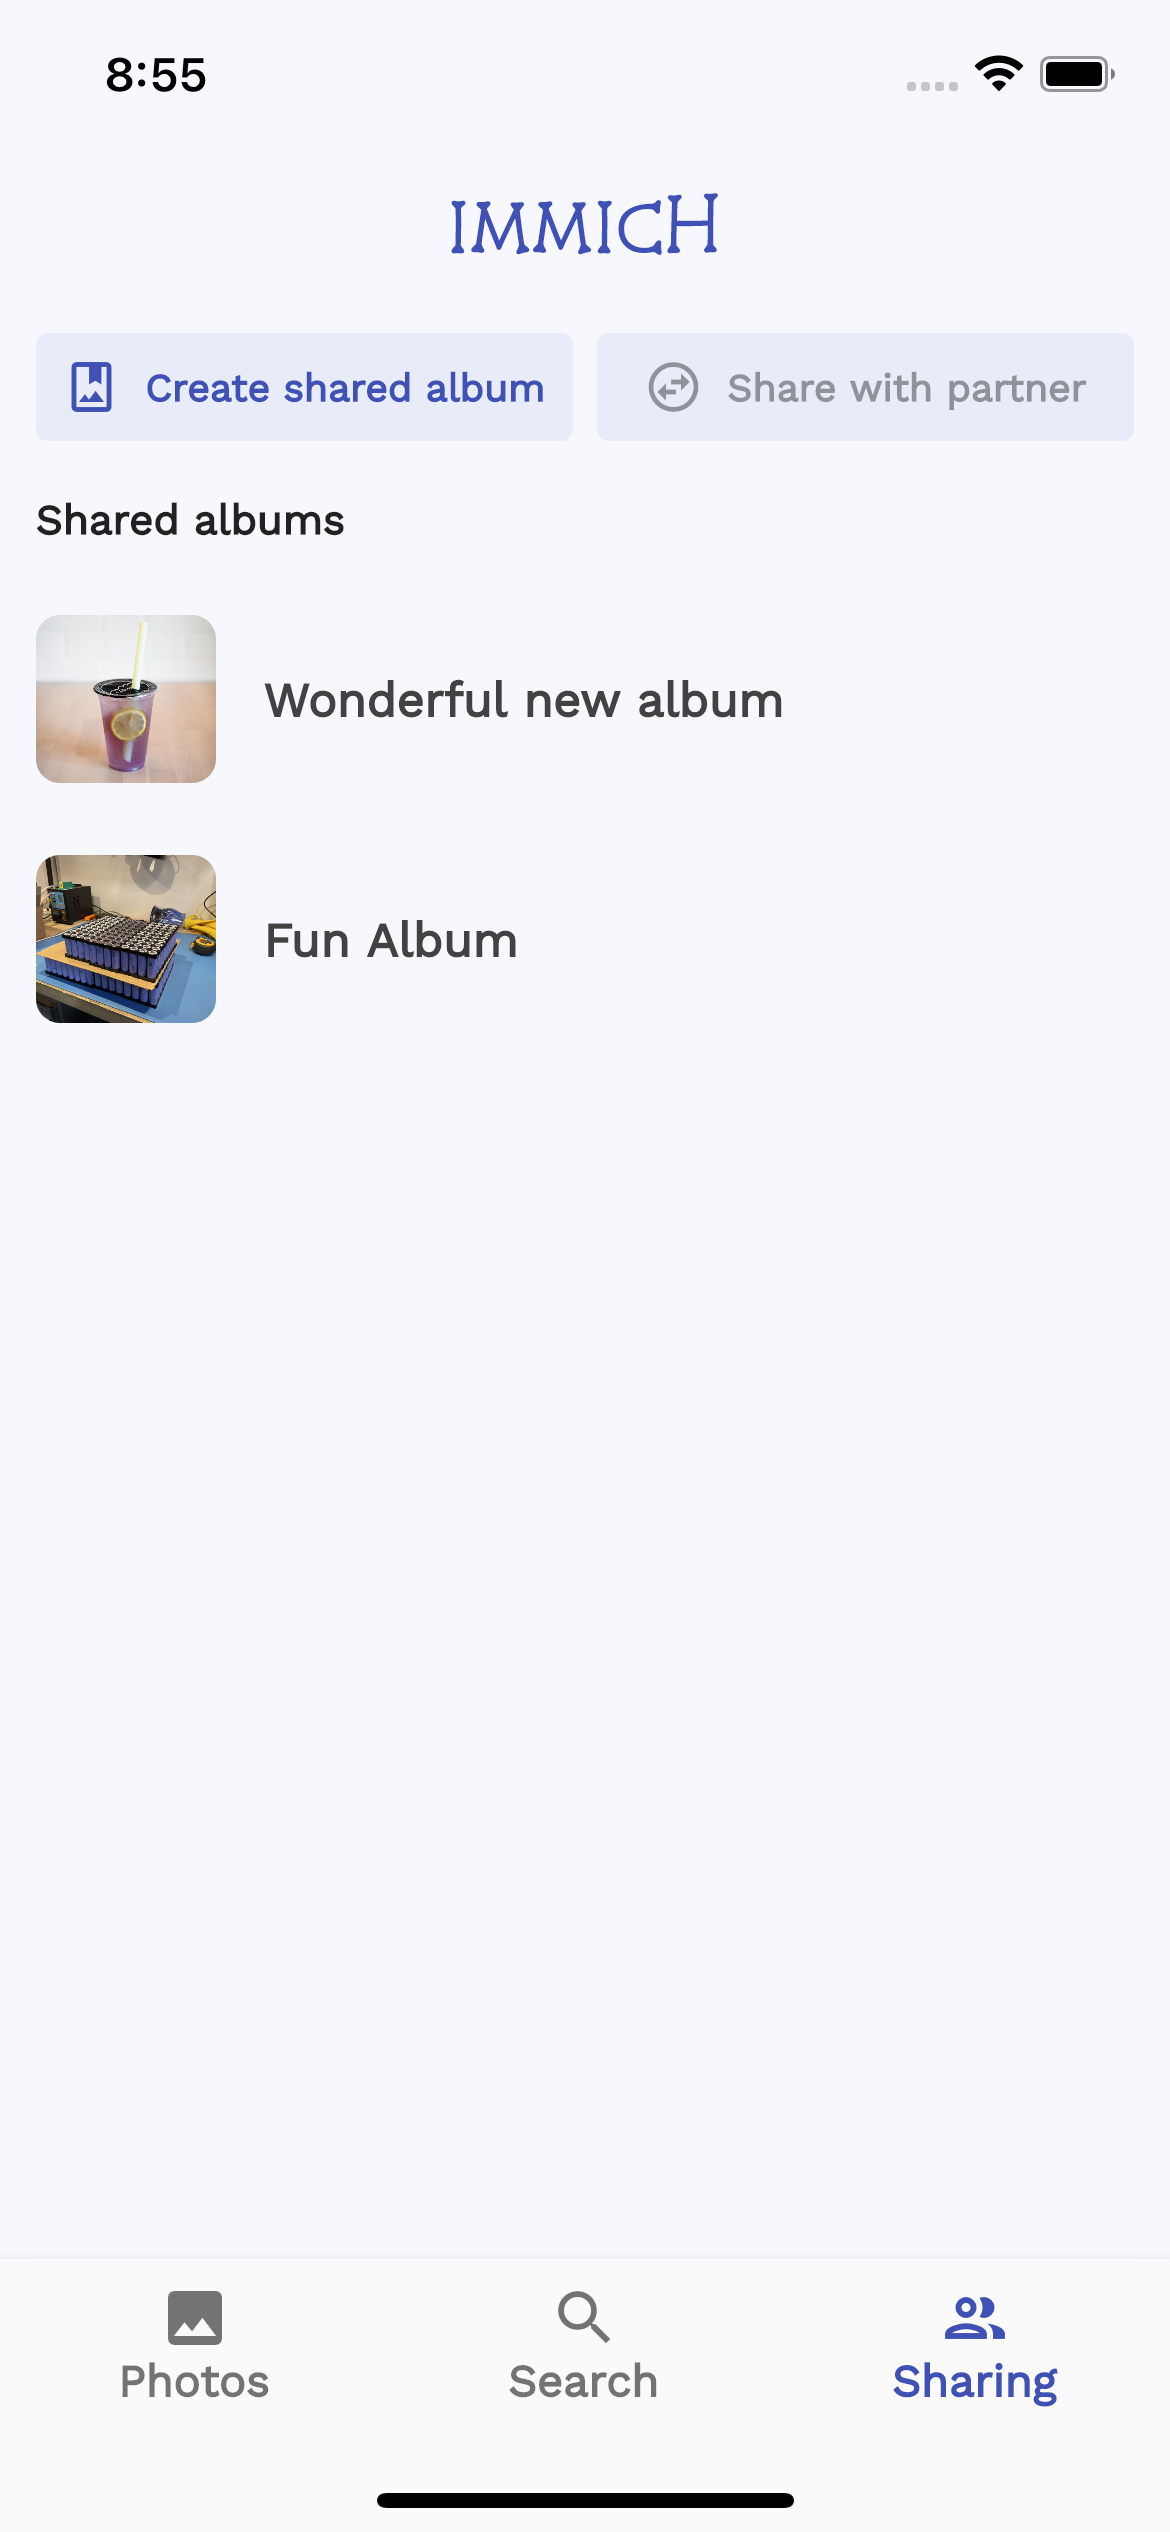
Shared albums
| 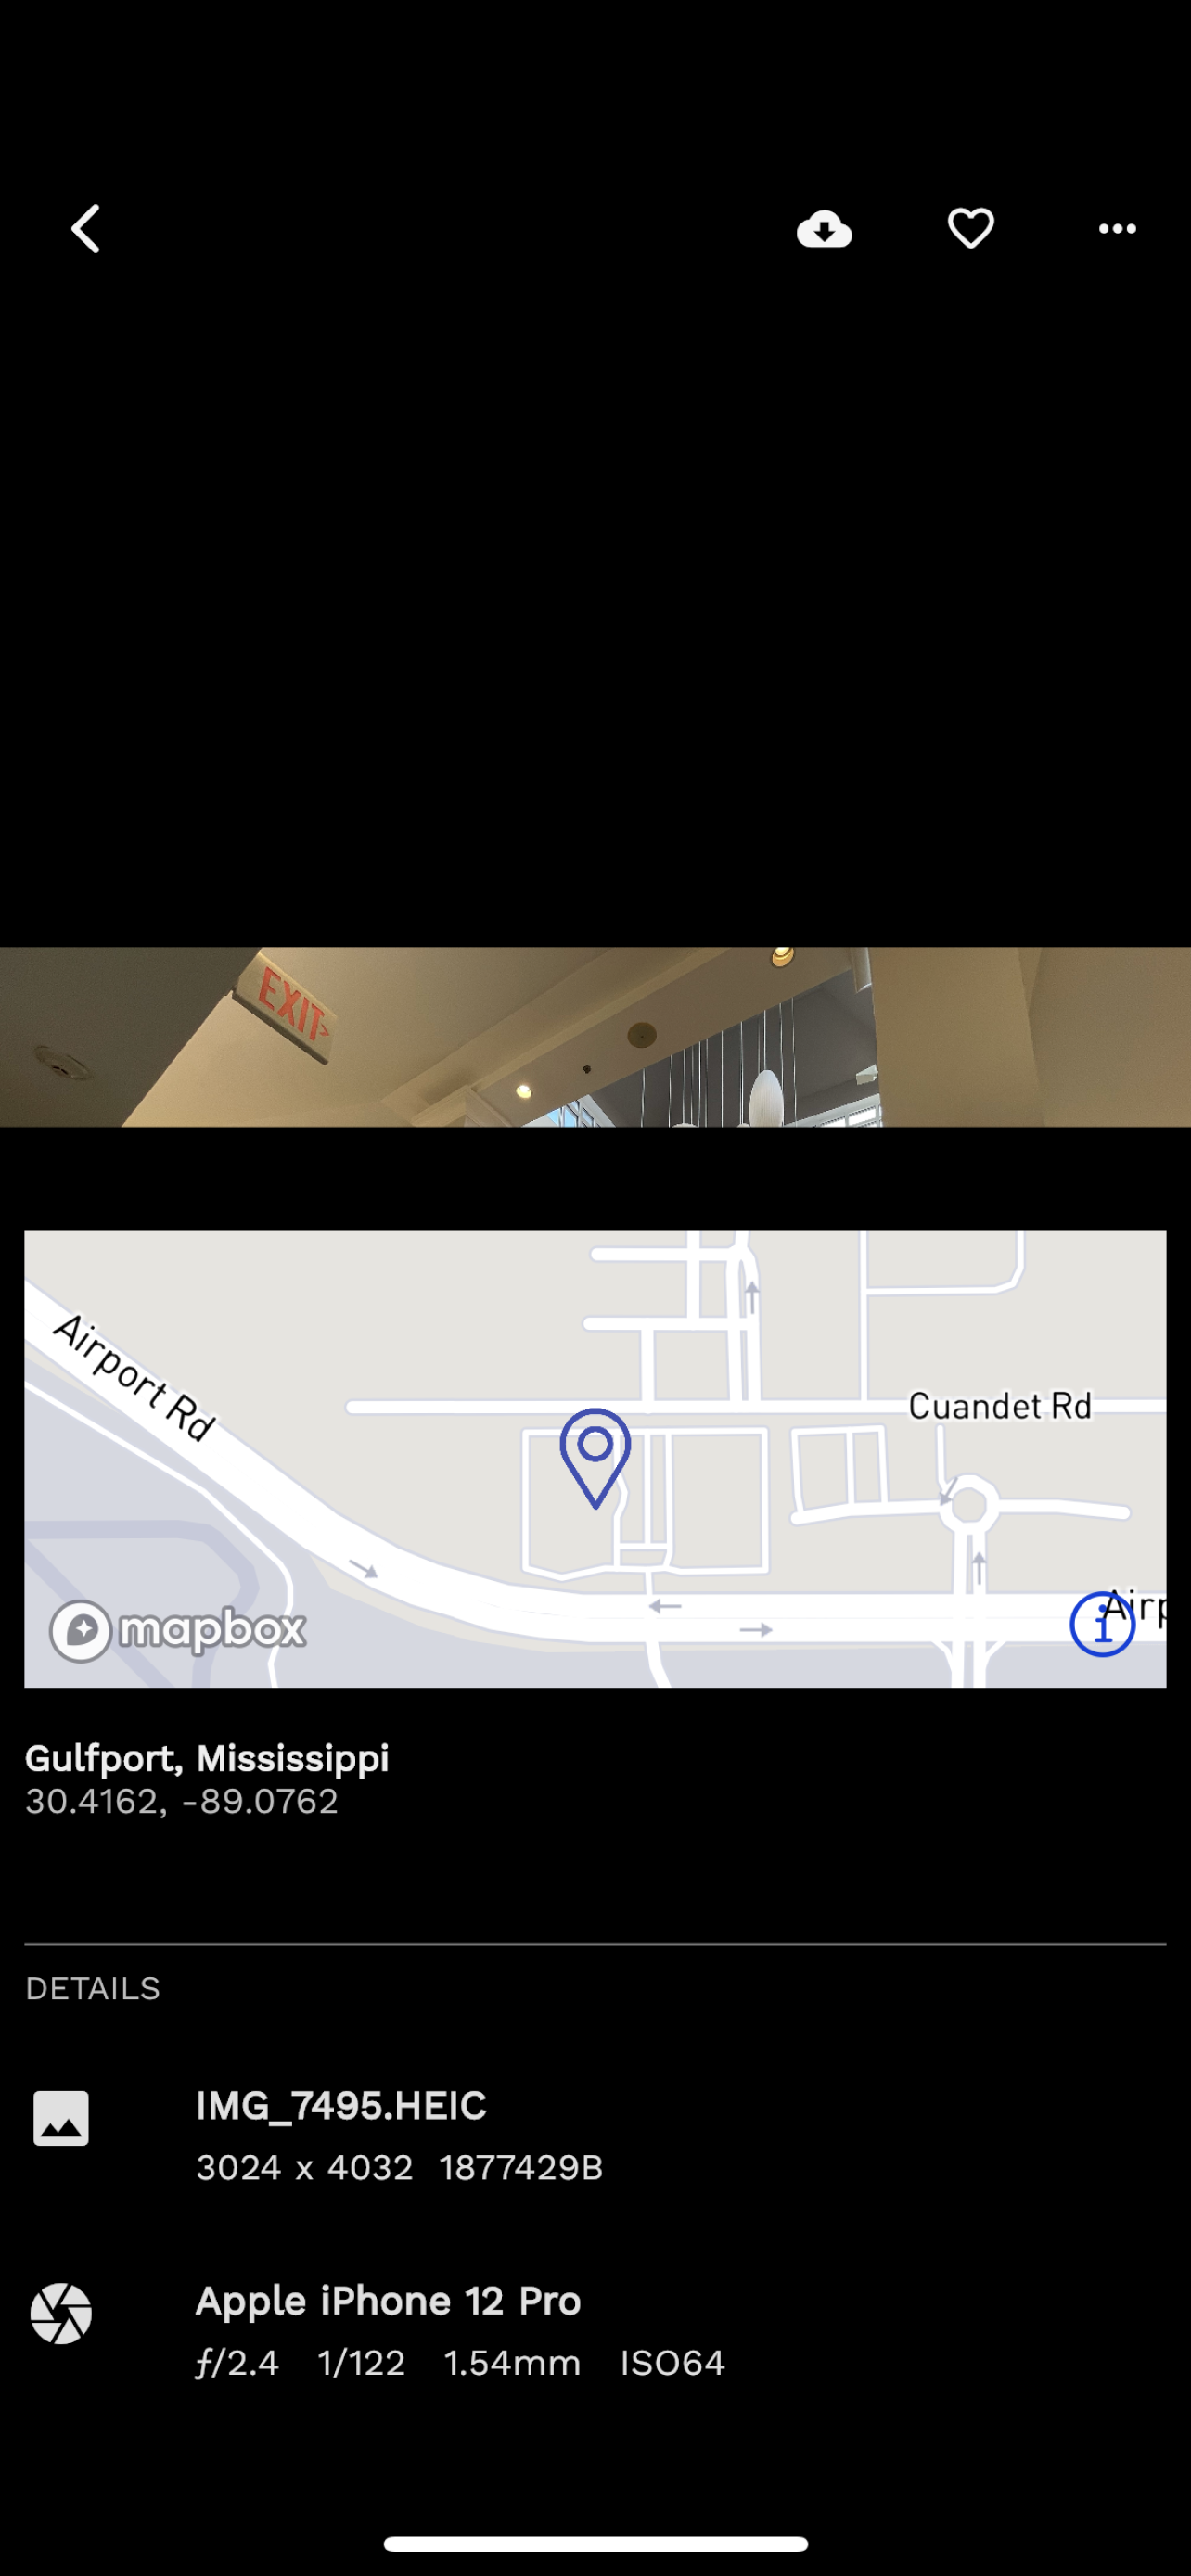
EXIF info
| 
Loading ~4000 images/videos
|
### Web
| Home Dashboard | Image view |
| - | - |
| |
| 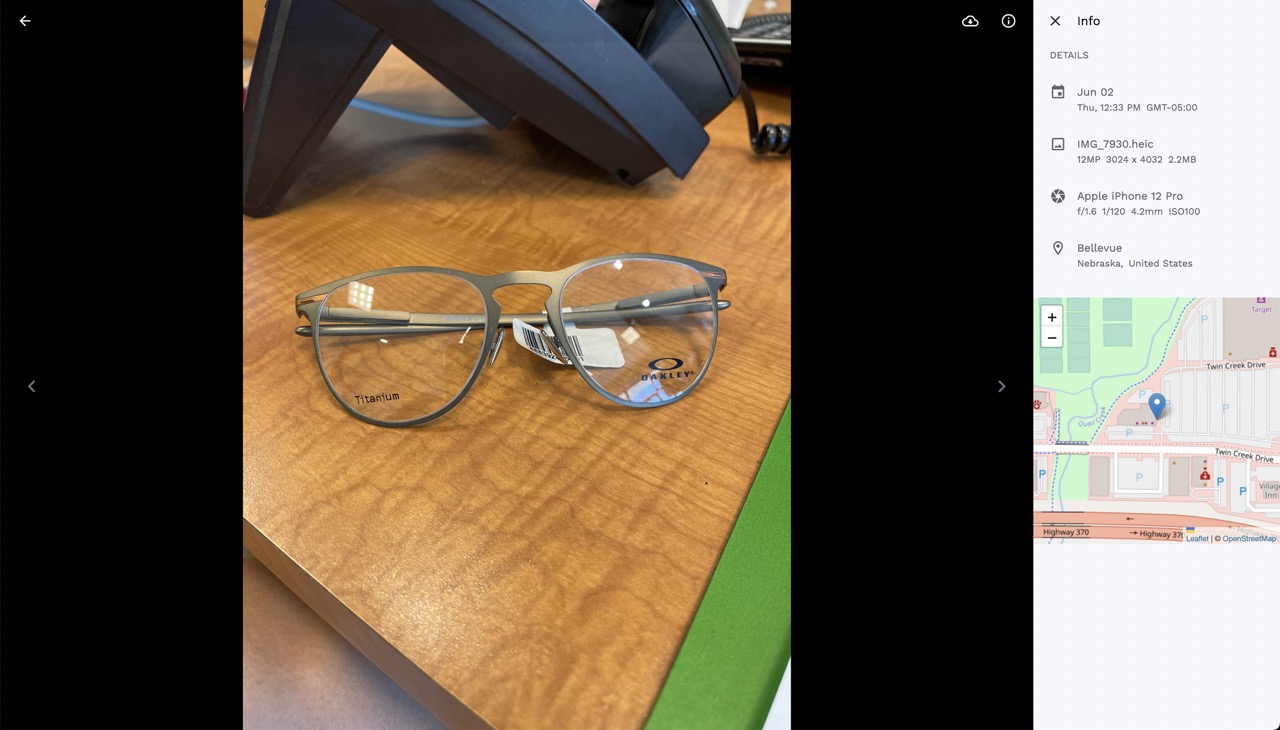 |
|
# Project Details
## 💾 System Requirements
- **OS**: Preferred unix-based operating system (Ubuntu, Debian, MacOS...etc).
- **RAM**: At least 2GB, preferred 4GB.
- **Core**: At least 2 cores, preferred 4 cores.
## 🔩 Technology Stack
There are several services that compose Immich:
1. **NestJs** - Backend of the application
2. **SvelteKit** - Web frontend of the application
3. **PostgreSQL** - Main database of the application
4. **Redis** - For sharing websocket instance between docker instances and background tasks message queue.
5. **Nginx** - Load balancing and optimized file uploading.
6. **TensorFlow** - Object Detection (COCO SSD) and Image Classification (ImageNet).
# Installation
NOTE: When using a reverse proxy in front of Immich (such as NGINX), the reverse proxy might require extra configuration to allow large files to be uploaded (such as client_max_body_size in the case of NGINX).
## Testing One-step installation (not recommended for production)
> ⚠️ *This installation method is for evaluating Immich before futher customization to meet the users' needs.*
*Applicable system: Ubuntu, Debian, MacOS*
- In the shell, from the directory of your choice, run the following command:
```bash
curl -o- https://raw.githubusercontent.com/immich-app/immich/main/install.sh | bash
```
This script will download the `docker-compose.yml` file and the `.env` file, then populate the necessary information, and finally run the `docker-compose up` or `docker compose up` (based on your docker's version) command.
The web application will be available at `http://:2283`, and the server URL for the mobile app will be `http://:2283/api`.
The directory which is used to store the backup file is `./immich-app/immich-data`.
## Custom installation (Recommended)
### Step 1 - Download necessary files
- Create a directory called `immich-app` and cd into it.
- Get `docker-compose.yml`
```bash
wget https://raw.githubusercontent.com/immich-app/immich/main/docker/docker-compose.yml
```
- Get `.env`
```bash
wget -O .env https://raw.githubusercontent.com/immich-app/immich/main/docker/.env.example
```
### Step 2 - Populate .env file with custom information
See the example .env file
* Populate custom database information if necessary.
* Populate `UPLOAD_LOCATION` as prefered location for storing backup assets.
* Populate a secret value for `JWT_SECRET`, you can use this command: `openssl rand -base64 128`
### Step 3 - Start the containers
- Run `docker-compose up` or `docker compose up` (based on your docker's version)
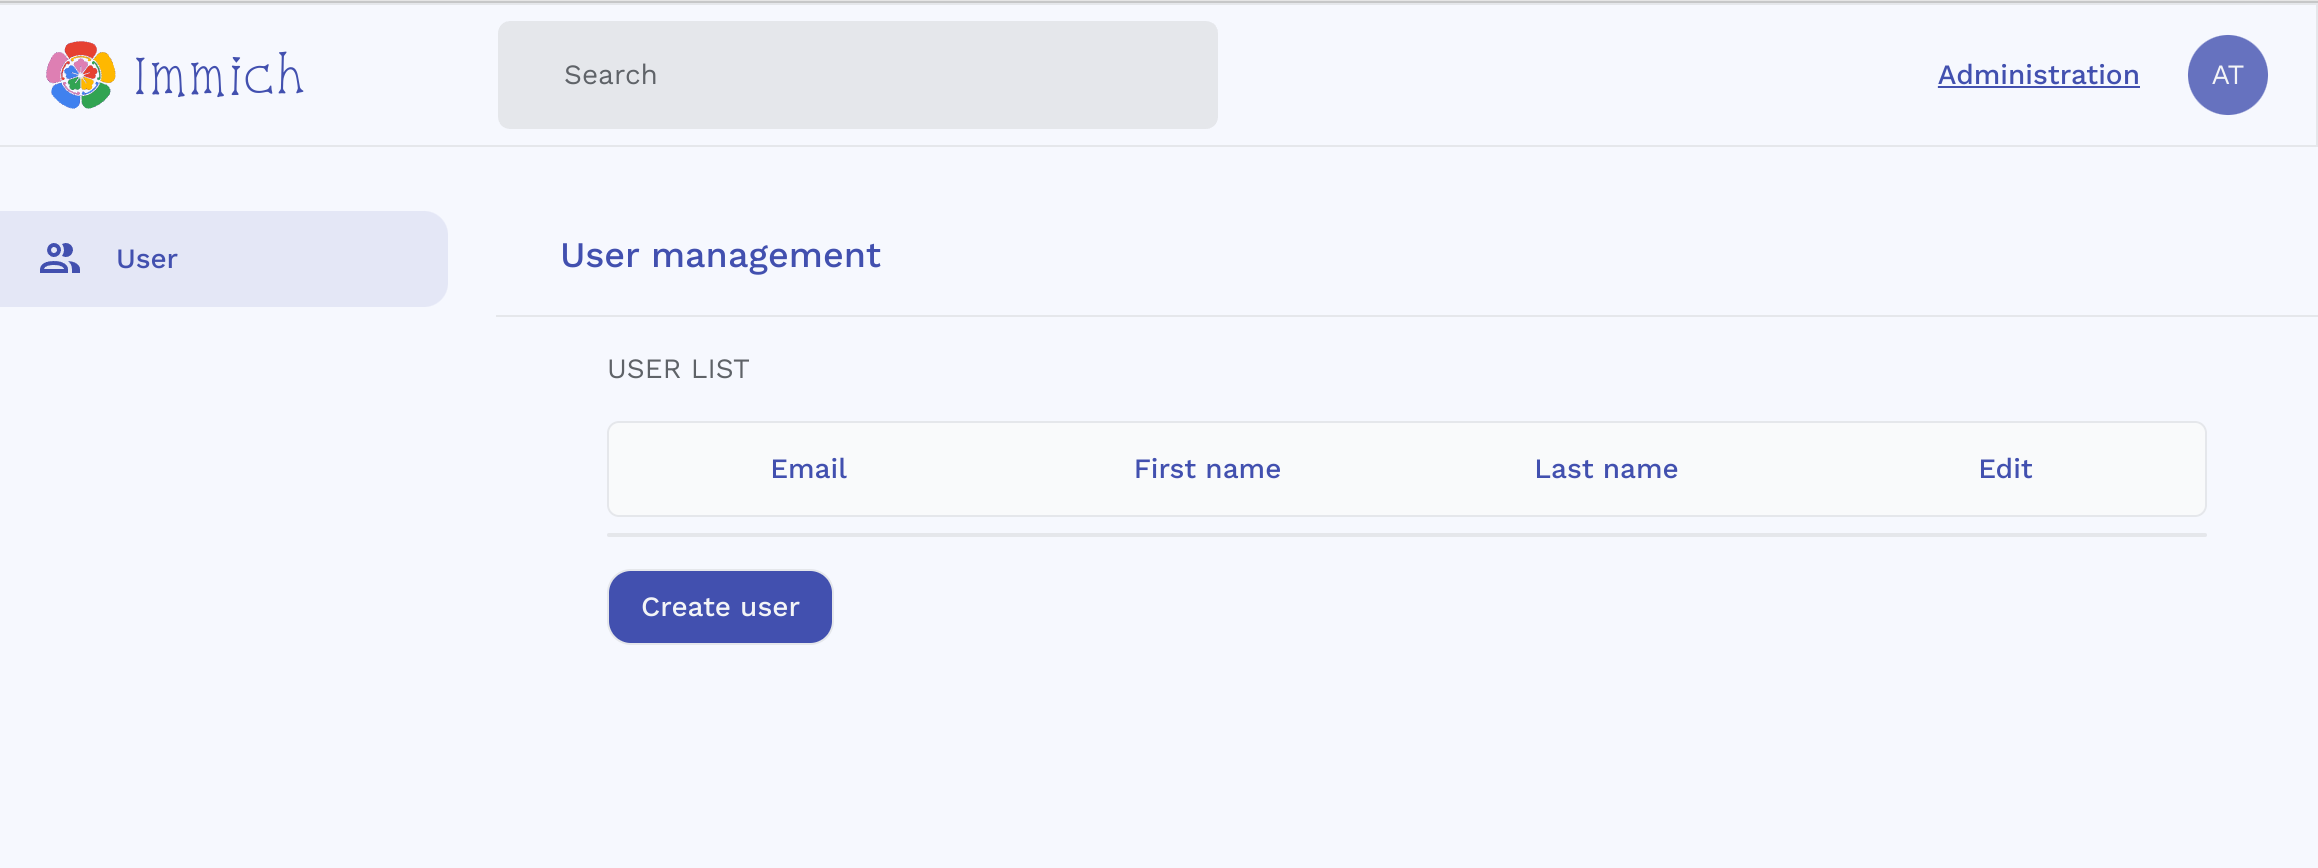
### Step 4 - Register admin user
- Navigate to the web at `http://:2283` and follow the prompts to register admin user.
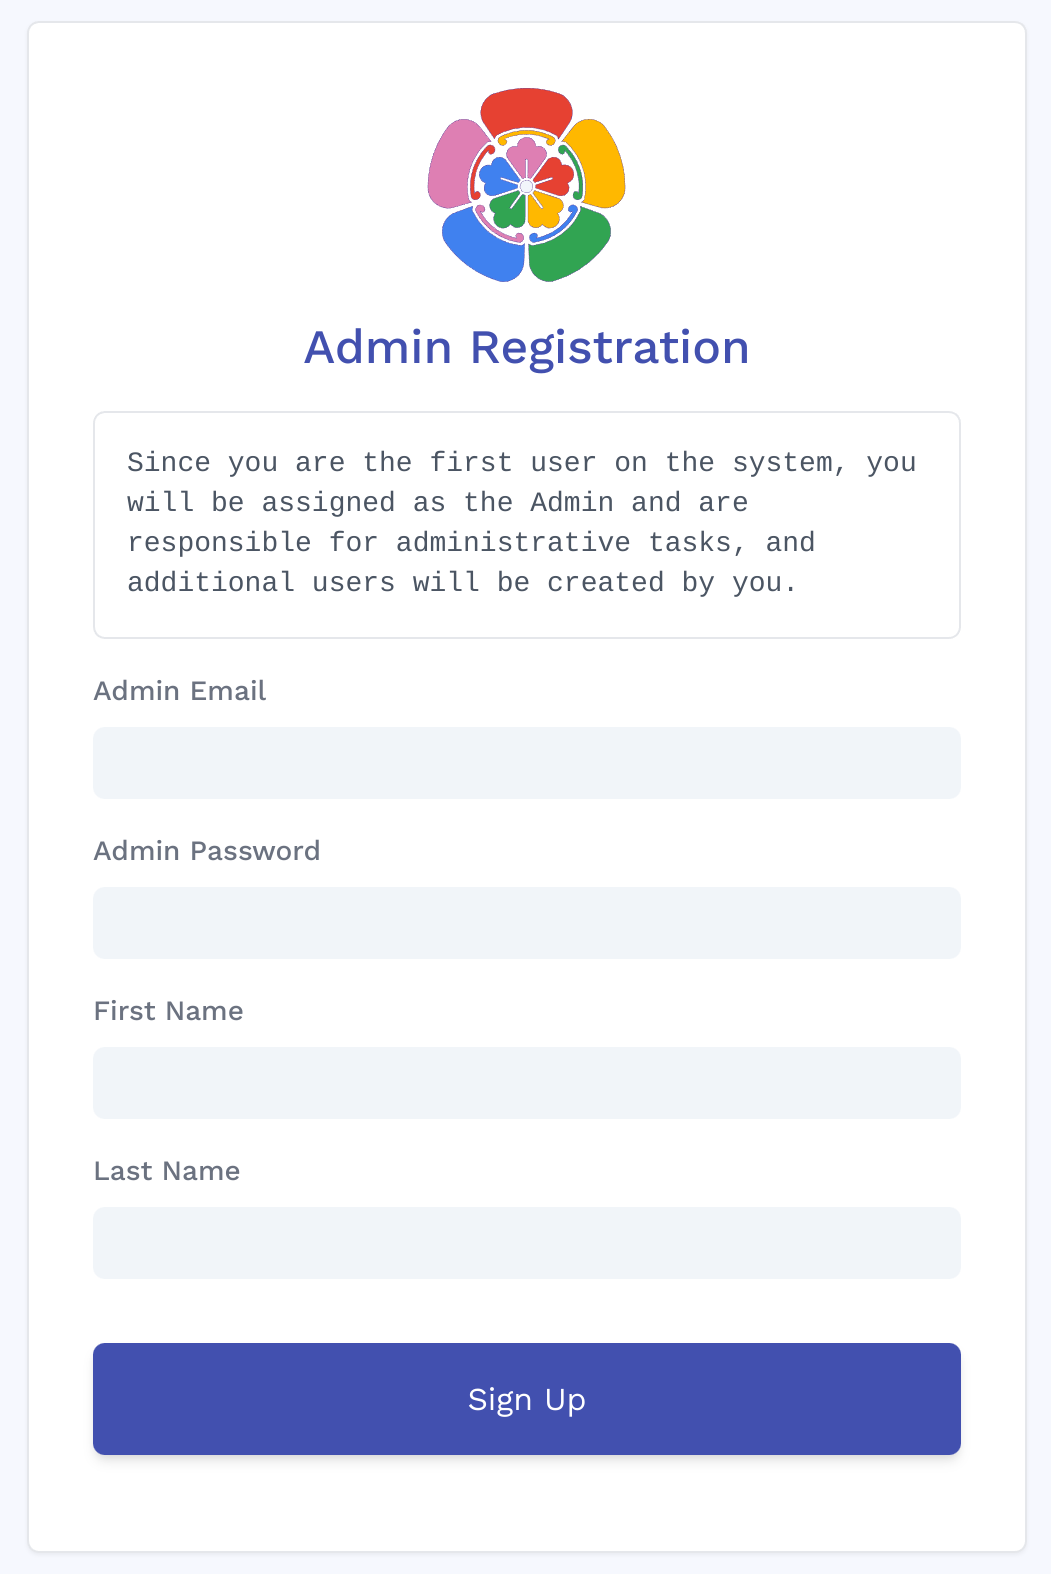
- You can add and manage users from the administration page.
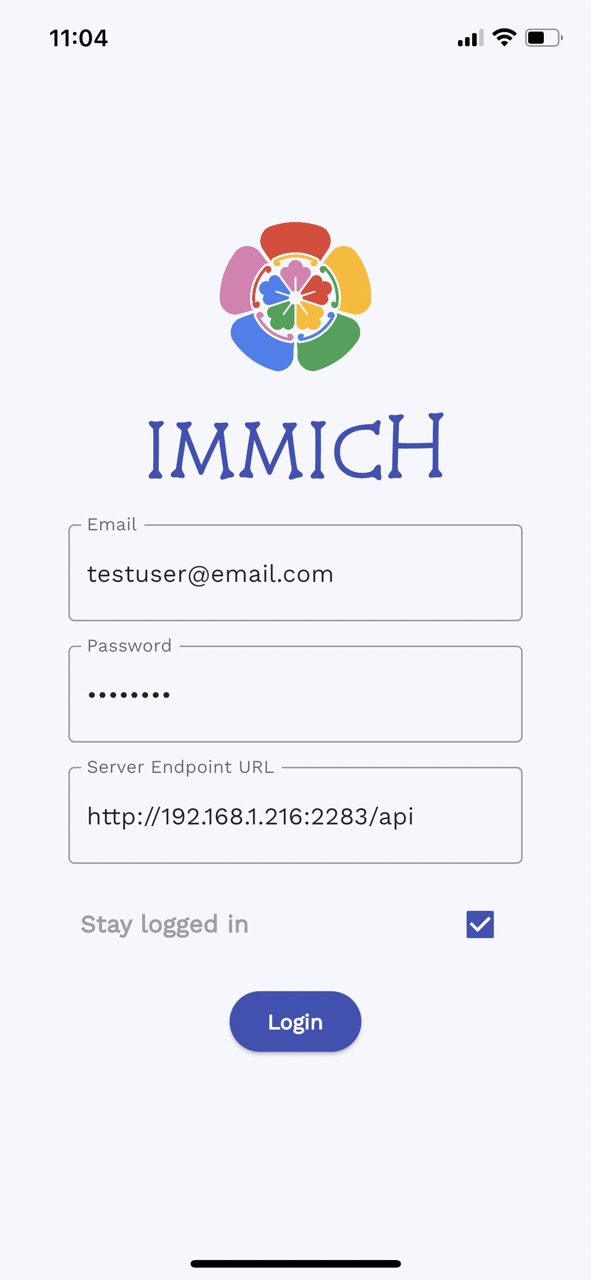
### Step 5 - Access the mobile app
- Login the mobile app with the server endpoint URL at `http://:2283/api`
## Update
If you have installed, you can update the application by navigate to the directory that contains the `docker-compose.yml` file and run the following command:
```bash
docker-compose pull && docker-compose up -d
```
# Mobile app
| F-Droid | Google Play | iOS |
| - | - | - |
|  |
| 
| 
|
> *The Play/App Store version might be lagging behind the latest release due to the review process.*
# App Beta release channel
You can opt-in to join app beta release channel by following the links below:
* Android: Invitation link from [web](https://play.google.com/store/apps/details?id=app.alextran.immich) or from [mobile](https://play.google.com/store/apps/details?id=app.alextran.immich)
* iOS: [TestFlight invitation link](https://testflight.apple.com/join/1vYsAa8P)
# Development
The development environment can be started from the root of the project after populating the `.env` file with the command:
```bash
make dev # required Makefile installed on the system.
```
All servers and web container are hot reload for quick feedback loop.
## Note for developers
### 1 - OpenAPI
OpenAPI is used to generate the client (Typescript, Dart) SDK. `openapi-generator-cli` can be installed [here](https://openapi-generator.tech/docs/installation/). When you add a new or modify an existing endpoint, you must run the generate command below to update the client SDK.
```bash
npm run api:generate # Run from server directory
```
You can find the generated client SDK in the [`web/src/api`](web/src/api) for Typescript SDK and [`mobile/openapi`](mobile/openapi) for Dart SDK.
# Support
If you like the app, find it helpful, and want to support me to offset the cost of publishing to AppStores, you can sponsor the project with [**one time**](https://github.com/sponsors/alextran1502?frequency=one-time&sponsor=alextran1502) or monthly donation from [**Github Sponsor**](https://github.com/sponsors/alextran1502).
You can also donate using crypto currency with the following addresses:
 Bitcoin:
 1FvEp6P6NM8EZEkpGUFAN2LqJ1gxusNxZX
 Cardano:
 addr1qyy567vqhqrr3p7vpszr5p264gw89sqcwts2z8wqy4yek87cdmy79zazyjp7tmwhkluhk3krvslkzfvg0h43tytp3f5q49nycc
This is also a meaningful way to give me motivation and encouragement to continue working on the app.
Cheers! 🎉
# Known Issues
## TensorFlow Build Issue
*This is a known issue for incorrect Proxmox setup*
TensorFlow doesn't run with older CPU architecture, it requires a CPU with AVX and AVX2 instruction set. If you encounter the error `illegal instruction core dump` when running the docker-compose command above, check for your CPU flags with the command and make sure you see `AVX` and `AVX2`:
```bash
more /proc/cpuinfo | grep flags
```
If you are running virtualization in Proxmox, the VM doesn't have the flag enabled.
You need to change the CPU type from `kvm64` to `host` under VMs hardware tab.
`Hardware > Processors > Edit > Advanced > Type (dropdown menu) > host`


 |
|  |
|


 | | |
> *The Play/App Store version might be lagging behind the latest release due to the review process.*
# App Beta release channel
You can opt-in to join app beta release channel by following the links below:
* Android: Invitation link from [web](https://play.google.com/store/apps/details?id=app.alextran.immich) or from [mobile](https://play.google.com/store/apps/details?id=app.alextran.immich)
* iOS: [TestFlight invitation link](https://testflight.apple.com/join/1vYsAa8P)
![]() Bitcoin:
Bitcoin: ![]() Cardano:
Cardano: